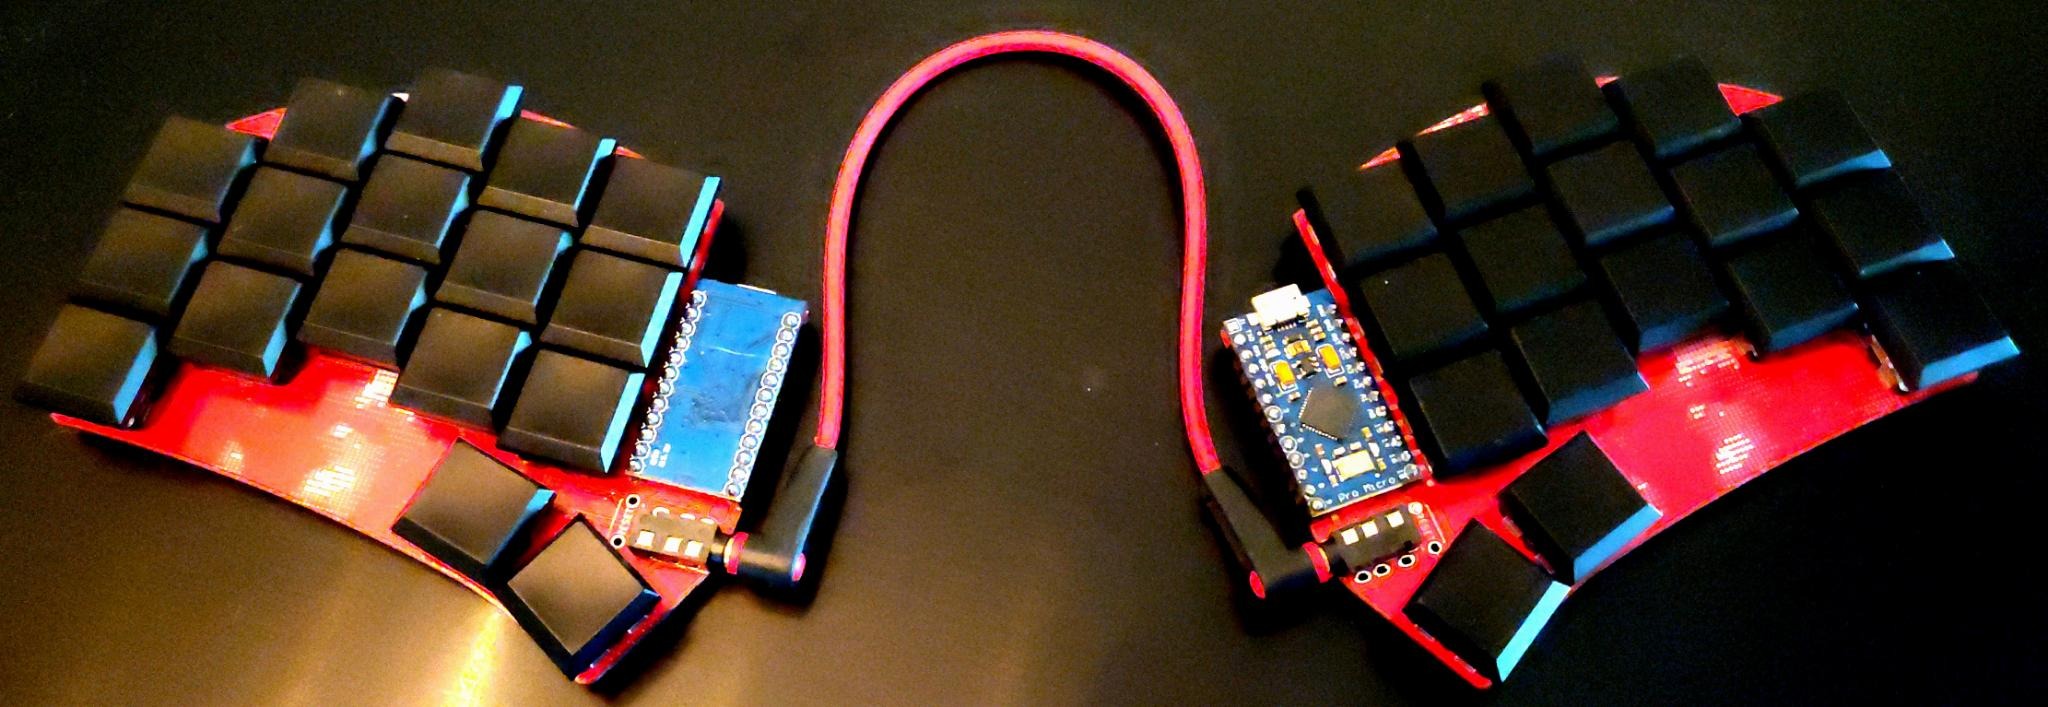
Having struggled with Rheumatoid Arthritis pains for the past decade, my browsing history is full of ergonomic gadgets to make working from a computer all day just an ounce more comfortable. I have tried the trackball mouse, variations of cheap ergonomic keyboards, 60% mechanical keyboards and about anything else you could think of. Somehow this search history led me to some GitHub pages for fully DIY keyboards built with Arduinos. The clouds parted, and I knew immediately I would be building one of these for myself. After some very deliberate reading, I settled on the Ferris design, and saw that someone had adapted it to work with Sparkfun’s Pro Micro board. That was enough for me to buy up some parts, order some PCB’s, and warm up my soldering iron.
The Build
Overall, the build was pretty uneventful, with only one minor snag I can think of. I’ll elaborate on this when I talk about keycaps.
Switches
I decided I wanted to use low profile mechanical keys. A Chinese company called Kaihl makes some really neat low profile switches called Choc. I ordered up a bunch of the linear (red) versions of these switches from the AdaFruit website. I would need exactly 34 for the build, but knew I would want to build a second keyboard if it worked, and maybe some other fun musical projects with these switches.
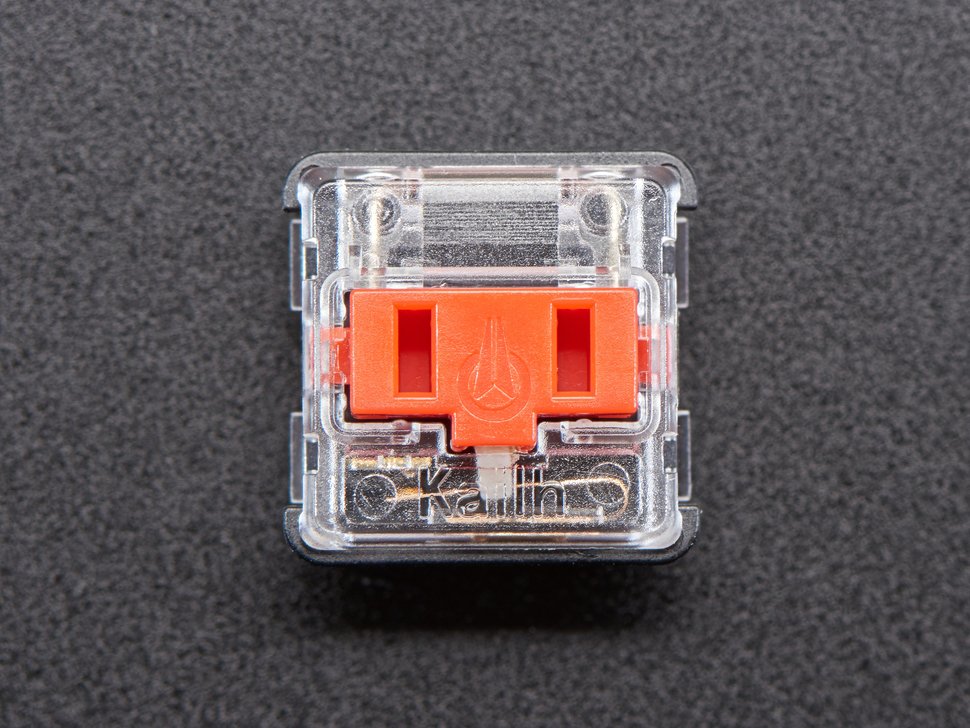 photo courtesy of AdaFruit
Microcontrollers
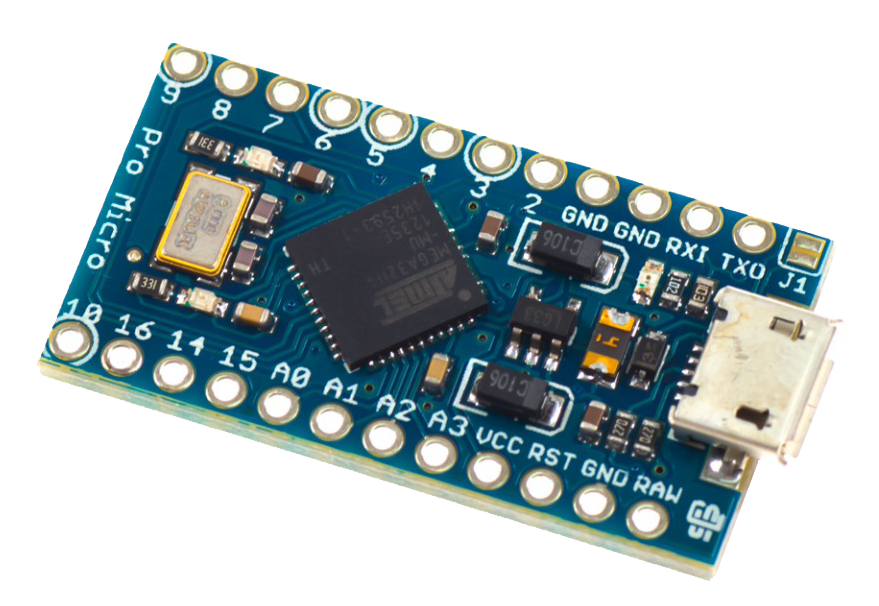
I cheaped out on the Pro Micros for the build, because I wanted to keep the overall build as cheap as possible. For these, I just ordered the cheapest Pro Micro clones I could find on eBay. While I’m not sure if it’s important, I used the 5v version clocked at 16Mhz, and of course, my keyboard works flawlessly. The most important thing here is probably to not mix and match between halves of the keyboard. It is possible to build a wireless version of this keyboard with the nice!nano board and some batteries that look like they are intended for vape pens. I might do this at some point in the future.
Printed Circuit Boards (PCBs)
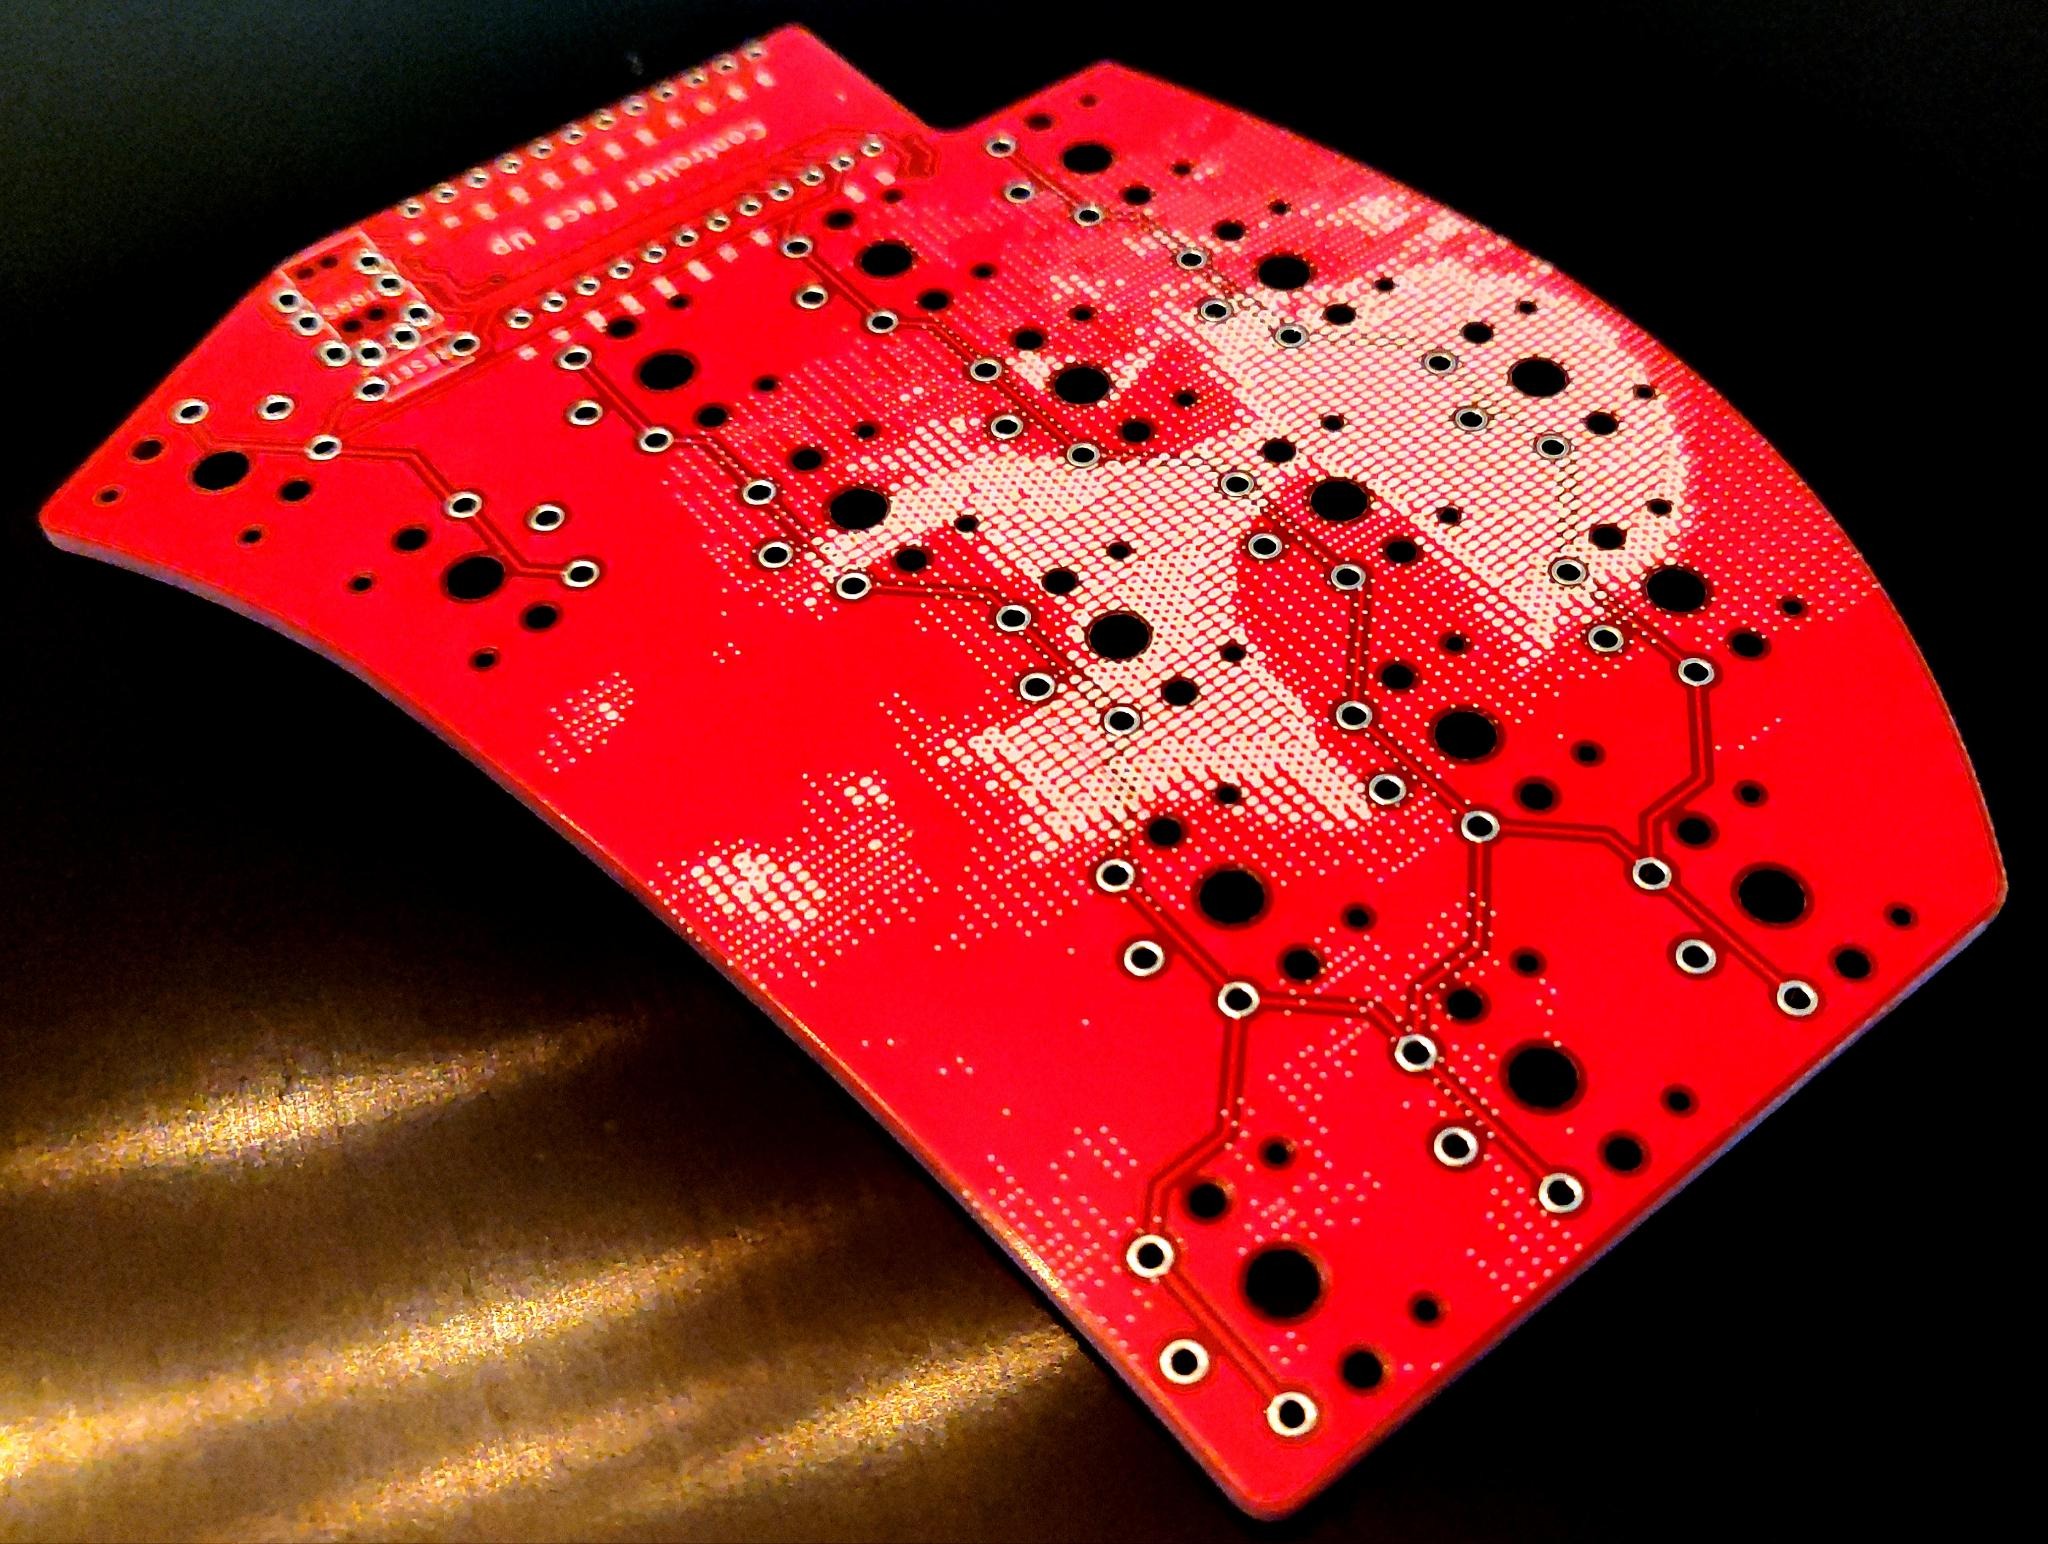
I ordered circuit boards from JLCPCB. I don’t have any affiliation with them, nor do I endorse them for any specific reason. This is just where I have previously ordered PCBs. I won’t get into the details of editing the boards using KiCad, but I did to add my own custom graphics to the boards. This is not necessary. JLCPCB asks for a *.zip file with all the gerber and drill files included. If you are wanting to do exactly what I did, with the Kaihl Choc switches, these are those files. Just be sure to leave out the README.md file when creating the ZIP archive. Upload that to JLCPCB, and select your options and colors. Since this design is reversible, it uses a single board for both halves of the keyboard. This is attractive since the smallest count of boards you can order is 5. You can easily build 2 keyboards with the boards you receive. I always check the gerber previewer on JLCPCB before submitting my order to make sure nothing looks wrong.
Keycaps
The keycaps were the only place I hit a snag in this build. As fate would have it, there are multiple sizes of keycaps for the Kaihl Choc switch, and they are different sizes. DO NOT BUY THE CLEAR KEYCAPS FOR THIS BUILD. They won’t fit. Make sure the keycaps you buy are 17.7mm x 16.7mm. You can find white and black versions of these keycaps on AliExpress and maybe even the AdaFruit website. There’s not much more to say here, the caps press into the keys once the board is complete.
Soldering
Don’t be afraid of soldering. Get some nice lead-free solder, an iron that can get pretty hot, and solder the thing together.
Be mindful of the correct placement of the microcontrollers. The left side of the keyboard requires that the microcontroller be mounted upside down. Remember, these are reversible boards, so one of them is upside down from the other.
Depending on the heat of your iron, and the composition and thickness of your solder wire, you should probably apply heat for 2-3 seconds to the pins/pads and feed solder in. You know you have a good joint if it fills the gap, and doesn’t appear “bubbled”. You’ll get a feel for this pretty quickly. You’ll want to make sure that all your keyswitches and microcontrollers are sitting flush on the board before soldering in place. I found that this was pretty easy. The keyswitches nearly hold themselves in place when you put them through the holes. Just take a quick look at the board from the side before you start soldering.
Flashing
Flashing the boards is probably the most complex task, but to me was no issue, because I am already familiar with the commandline and Git. Don’t fret though! The documentation of QMK is very easy to digest. Once both halves are flashed, the keyboard should immediately be recognized and usable.
Ortholinear
After spending my life up to this moment typing on a keyboard with an staggered layout, moving to ortholinear immediately revealed some issues with my typing. It took me maybe a week to internalize where the C key is, but I’ve built good habits as a result. This even translates into typing on a standard keyboard.
To really understand the difference in finger movement between staggered and ortholinear, here is a quick diagram I made showing a standard 60% keyboard layout, with color coding for each finger’s domain. You can easily see how an ortholinear layout is an improvement.
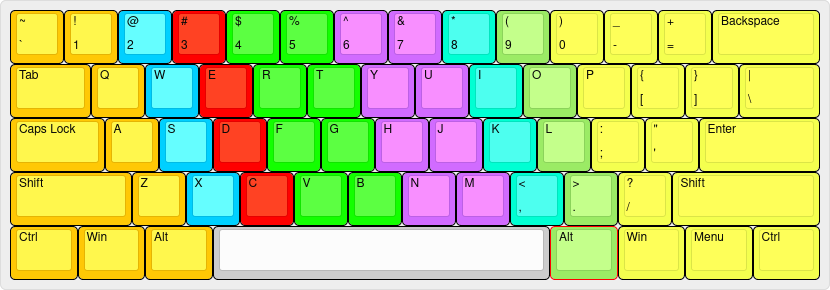 Image created with Keyboard Layout Editor
Split Design
I probably wouldn’t really appreciate the ortholinear design of this keyboard if not for the split. Being able to place the keyboard’s halves in a way that keeps my wrists neutral is probably the biggest benefit I’ve noticed. I can safely say this keyboard has relieved a fair amount of stress on my already-stressed joints and tendons.

Layers
The magic of building a DIY keyboard is having access to its firmware configuration. With QMK, you can easily define layers. The Ferris has 7 layers defined by default, which can be accessed by various modifier keys. The modifier keys are dual-purpose. They function as regular keys, but when you hold down any of them instead of tapping, they become modifiers and allow you to access different layers. I found the default layout of the Ferris to be quite useful. However, a few days after initially flashing it, I changed a few things to suit my preferences a little better.